
Fruiting Forecasts & Cultivating Grain Spawn
From sourcing to sterilizing - an adventure in preparing grain spawn.

It's been a few weeks since my last post, and I'm working towards being more consistent with my updates on my journey. Your continued support and enthusiasm fuel this venture, and I'm excited to share the new discoveries and insights I've gathered.
The Mushroom-Fruiting Forecast
I've covered a lot of ground since my last post. A close friend, a data scientist, and a fellow outdoor enthusiast became interested in creating a model to predict mushroom-fruiting conditions and locations. While researching and working on the model's first concept and looking for data sources, we stumbled upon the Global Biodiversity Information Facility, or GBIF. The sheer amount of data they have available covering every major taxonomic group caused us to shift our perspective completely.

While our focus will remain on mushrooms, we're now approaching the creation of this model from the perspective of applying it to any species in any kingdom and demonstrating the interconnectedness of all species and their dependency on one another. Let's get started on building the proof of concept!
Getting Into Grain
I've spent most of my time learning and preparing to create grain spawn to inoculate and colonize. I plan on using my grain spawn to inoculate bulk substrate bags containing a mixture of sawdust and wheat bran to supplement.
The most time-consuming part of the entire process was gathering all the materials needed before I started. Looking back, I could have saved a lot of time by trusting myself and accepting that I would have some failures. Here's a list of the materials I gathered before starting:
Liquid Culture: six different species that I ordered from Etsy.
Chestnut (Pholiota adiposa)
Lion's Mane (Hieracium erinaceus)
Black Morel (Morchella elata)
Pink Oyster (Pleurotus djamor)
Shiitake (Lentinula edodes)
Red Winecap (Stropharia rugosoannulata)
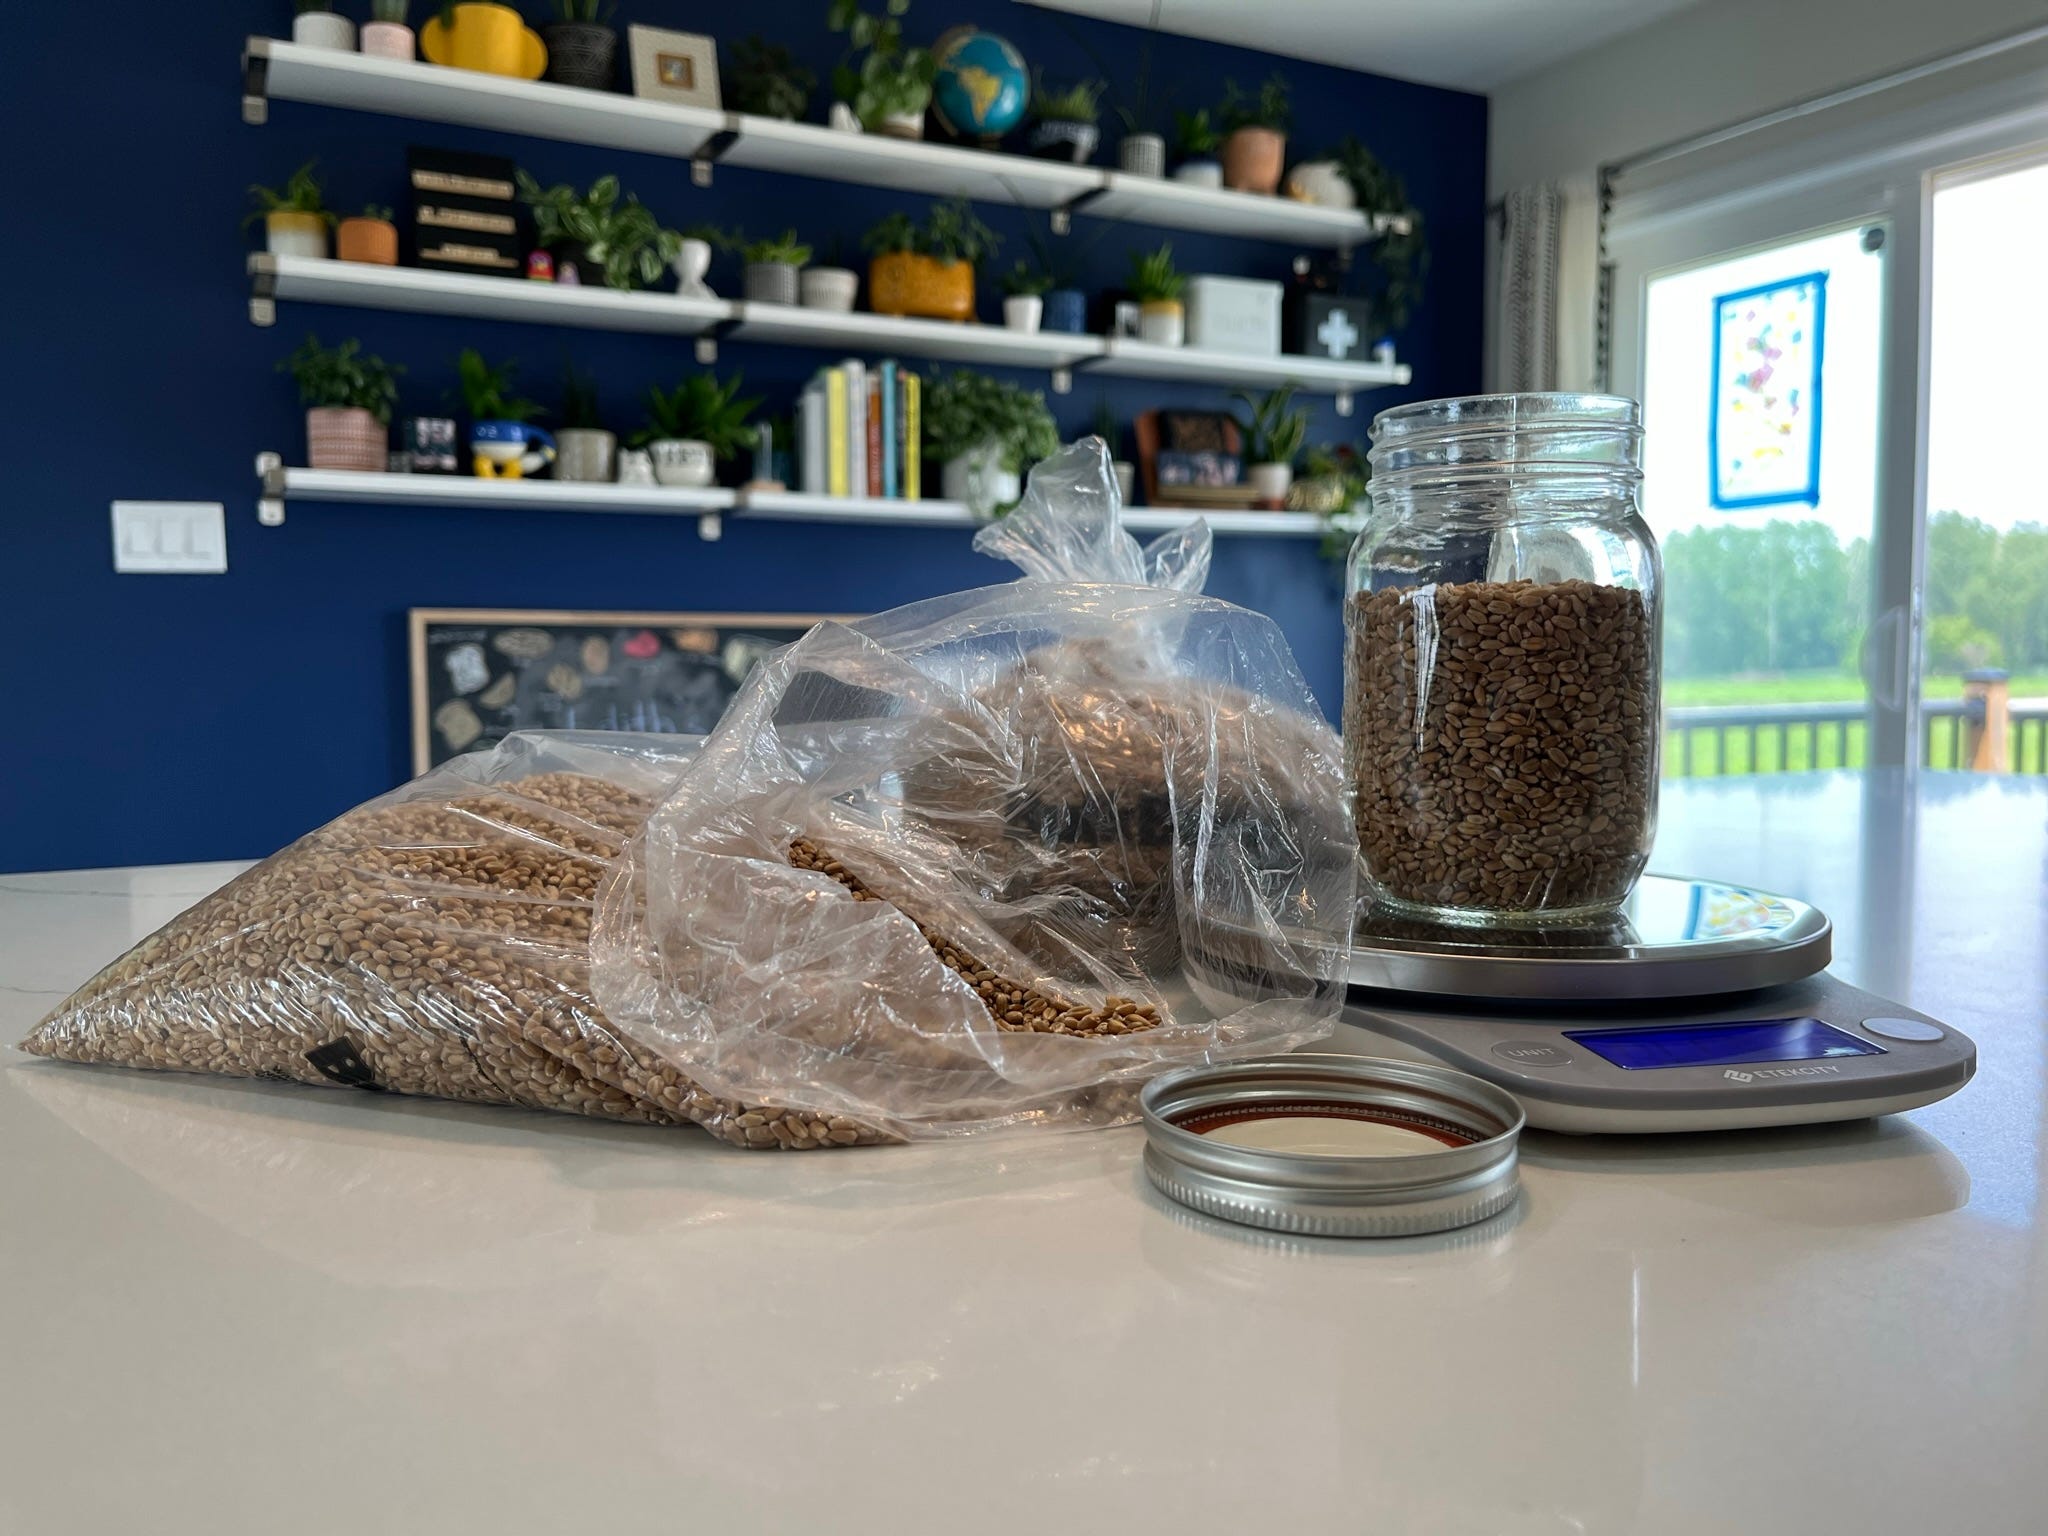
Red Hard Wheat Berries: I didn't worry about finding Rye Berries.
Mason Jars: 500ml regular mouth mason jars from Walmart.
Specialized Lids: I made my own, but you can order from Etsy.
Pressure Cooker: I used my Instant Pot that was lying around.
Strainer: used to drain the water from the grain after boiling.
Still Air Box: I made mine by drilling holes in a tote I already had.
Learning and experimenting with something new can be intimidating. This time was no different; there were some false starts before I could finally sit down and trust that I had learned what I could and convince myself I just needed to get started. Ultimately, the steps I took were:
Source and order liquid culture to inoculate the grains.
Purchase grain from my local bulk foods store.
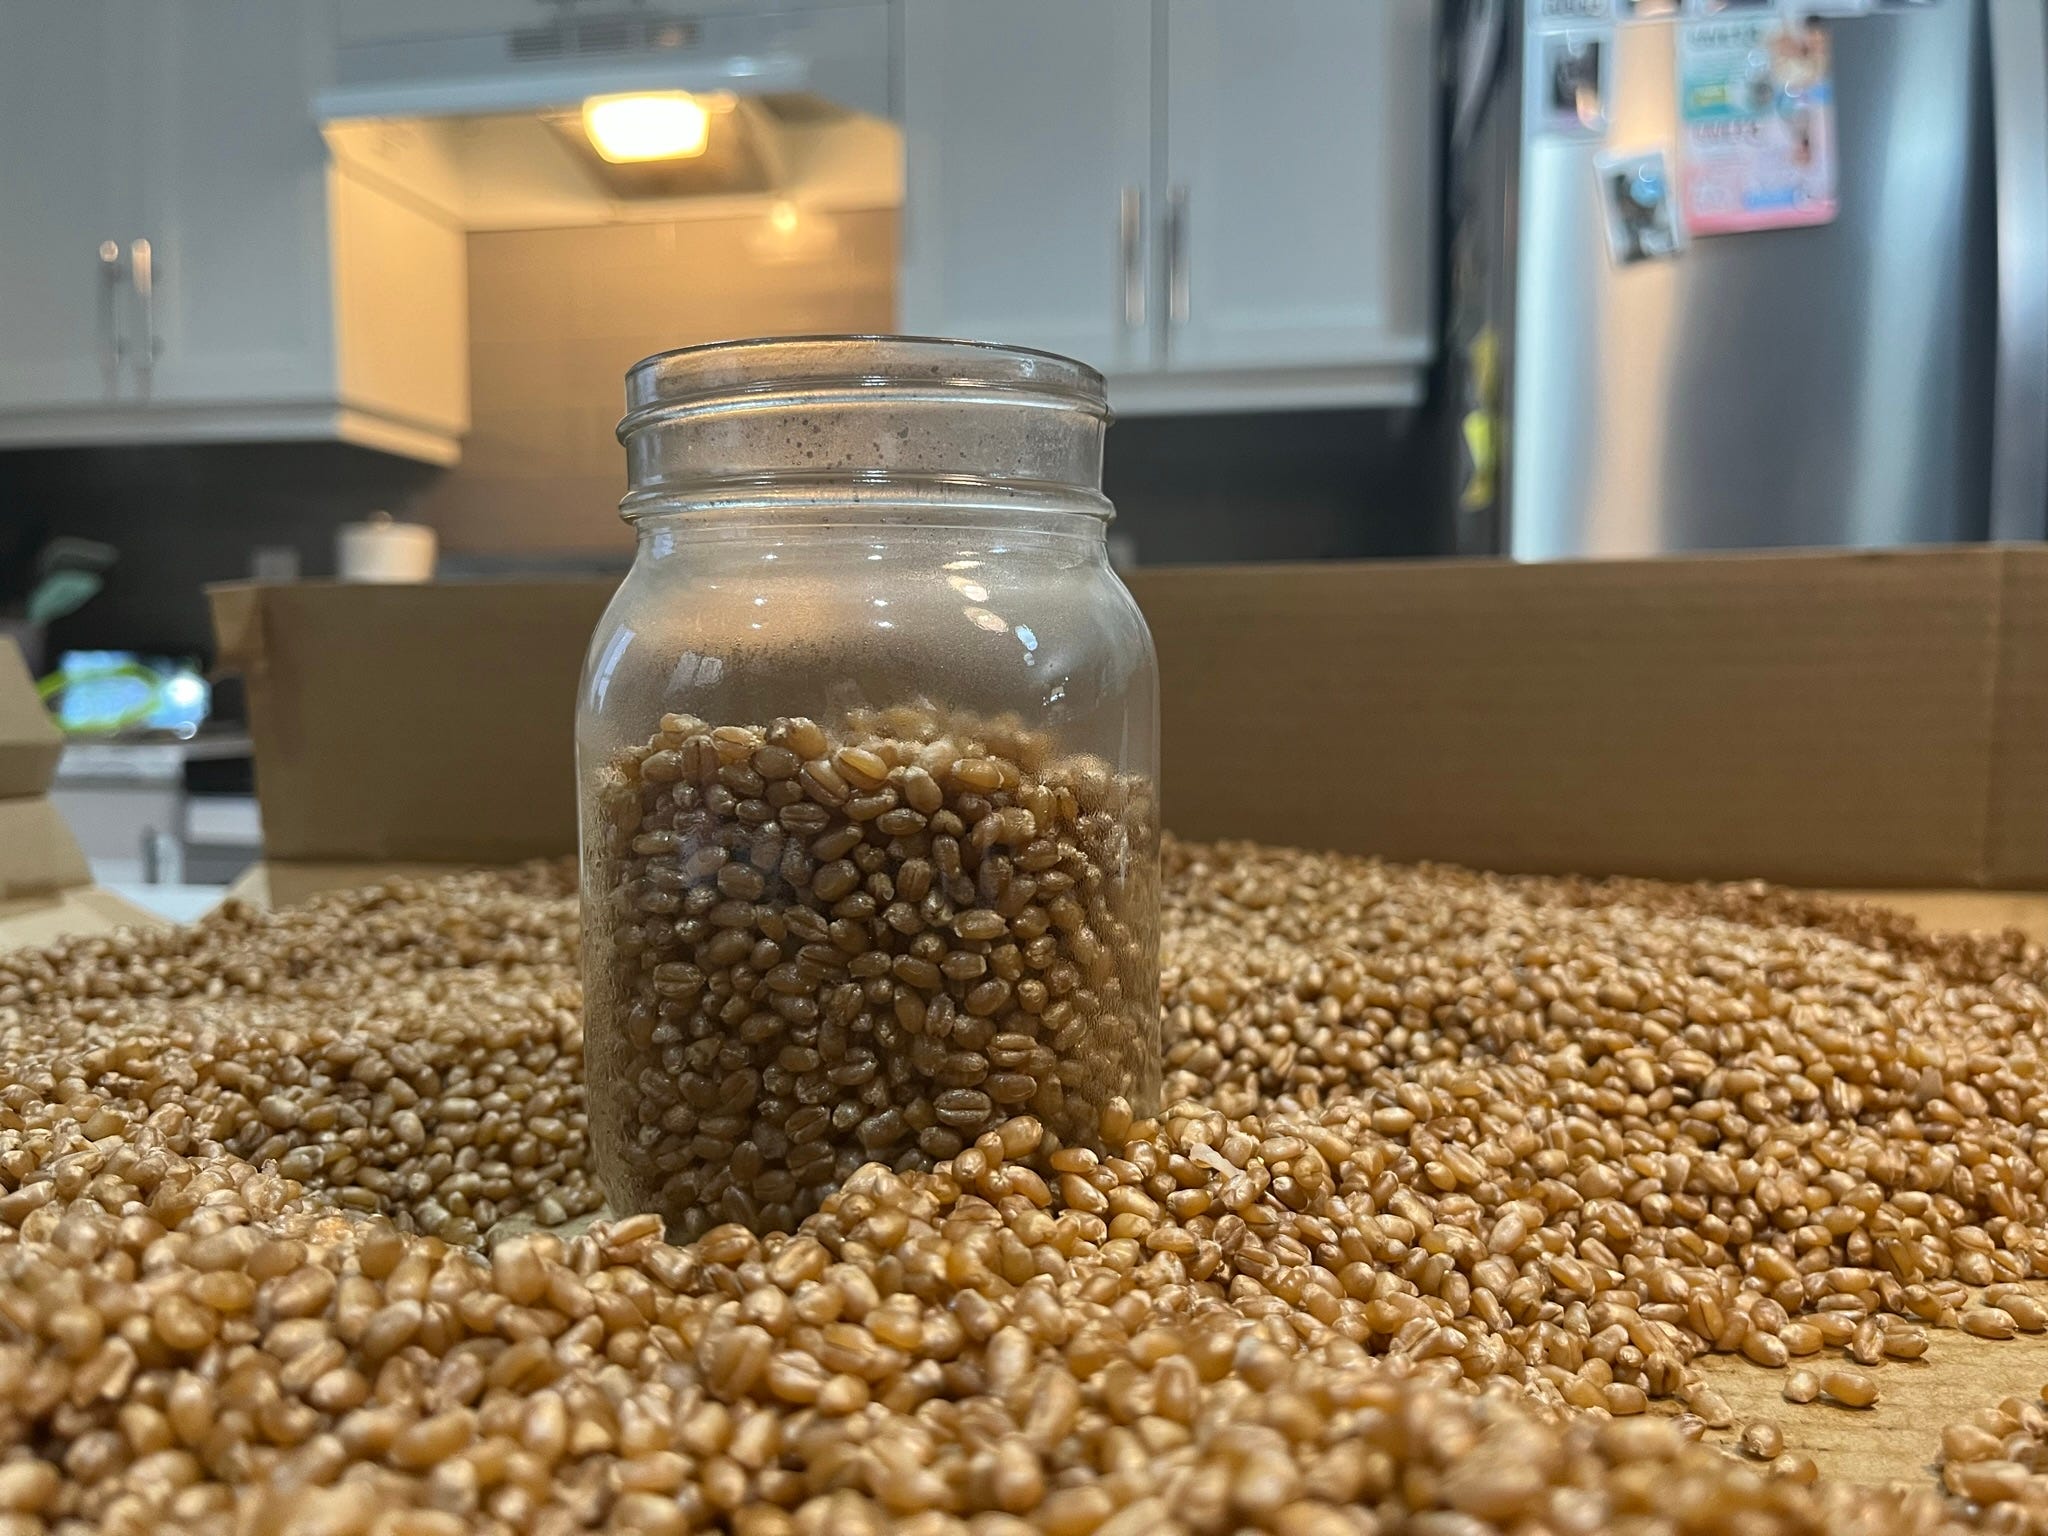
Rinse and clean the grain, then soak in water for 24 hours.
Boil grains for 10 minutes, starting the timer once rolling.
Drain and allow grains to cool while drying any excess moisture.
Fill mason jars with hydrated grains, leaving some space.
Sterilize the jars with a pressure cooker for 90 minutes at 15 PSI.
Let the sterilized jars cool to room temperature.
Inoculate the jars using a clean environment like a still air box.
When all was said and done, preparing, sterilizing, and inoculating my grain spawn took two days. The result was 12 mason jars of inoculated grain spawn using 6 gourmet mushroom species.


Be sure to subscribe to my newsletter and keep an on my Twitter. I'll be providing updates along the way as each jar colonizes. It's been about one week since I inoculated the grain spawn, and I have yet to identify any contamination.
Thank you for joining me on this journey. Here's to another week filled with growth, exploration, and mycological marvels!
Cultivating curiosity,
Scott